Tried another Pinterest idea today. This was one for the kids. Megs got to have a friend sleepover tonight so I figured it was a great time to try a fun new activity and decided on home-made puff paint. I had a couple of different pins with basically the same recipe. This one made a smaller batch and said to pop it in the microwave to make it puff up. A second recipe didn't mention the microwave and made a much larger batch. But, otherwise, they're the same recipe. Basically equal parts of water, salt and flour with the food coloring of your choice.
I picked up some squirt bottles at Wally-World for 98-cents. I needed some food coloring so grabbed that as well ($2.50) and a package of salt for 44-cents.

I made the turquoise and lime green first, using the 1-cup recipe. Way, way more puffy paint than I needed so I only did 1/2-cup for the pink and light blue. It came out pretty thick so I added just a bit more water to thin it out some.
I had some 8x10 pieces of cardboard that I'd been saving in the craft cupboard and decided they'd make great picture frames. I cut a square hole into each piece of cardboard and gave the cut-outs to the kids to color and decorate because they were driving me nuts wanting to get started on the project.
That didn't keep them busy long enough so I gave them the frames and got out the poster paints so they could cover up the ugly cardboard before applying the puff paint.
Once the poster paint was dry, I let them loose with the squirt bottles and they went nuts. Having it in bottles was a huge plus. I can't imagine the mess if they were trying to use brushes with this stuff. As it was, A-Man squirted half the bottle of pink all over his frame...but, he's 2, what did I expect?
We did have a slight mishap with E's frame. He'd used a very heavy hand with the poster paint and a few spots weren't dry yet when he applied the puff paint. When I pulled it out of the microwave, I thought I smelled smoke....but I had a frozen pizza in the oven so didn't think too much of it. E decided to add more puff paint to his design and brought the frame to me to microwave a second time. BIG MISTAKE!! When I pulled it out there was SMOKE coming from one of the globs of poster paint and I could see actual glowing embers inside the layers of the cardboard!!!
*****WARNING- make sure any other paints are completely dry and only microwave one time!!!!*****
Here are the kids' finished frames. I added a ribbon to the top so they can hang them in their rooms.
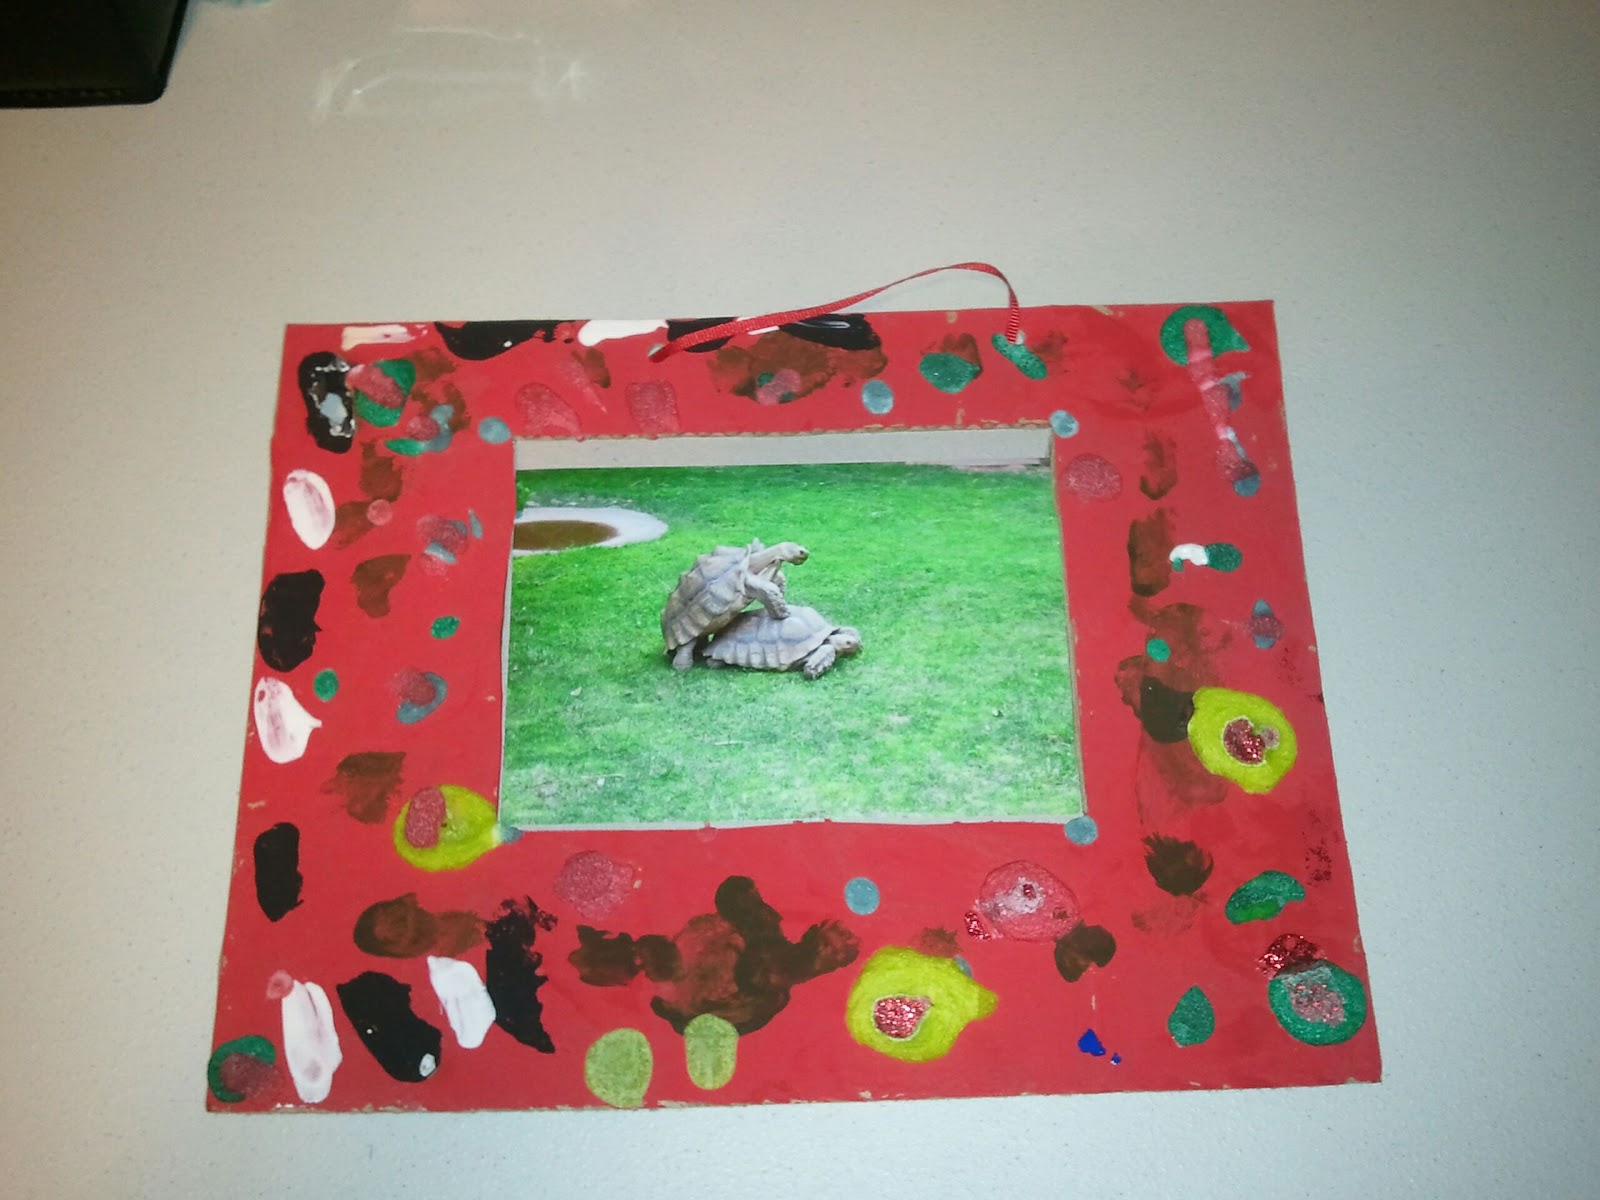 |
| (like that pic I stuck in there? LOL, from Reptile Gardens last summer.) |


As you can see, I didn't do a very good job of measuring the opening for the picture. It was supposed to be 3.5 x 5.5 so it would hold a 4 x 6 picture. Somehow I goofed it up. I attached a piece of paperboard to the back so they can just glue the picture to that and it will work out okay.
As far as the "puffiness" of the paint. Thin lines and polka dots puffed up pretty good, but thicker areas didn't really do much. It was pretty puffy straight out of the microwave, but as it cooled, it flattened out a bit and the colors dulled. I think thinning it was a bad idea. It made it easier to get into the bottle, but made it run and puddle instead of staying where it was squirted.
Oh, here's one more picture so you can see when E's caught on fire.
 |
| See where we burned a hole through the cardboard!! |
So, that was our fun project for this evening. Used up some things from the craft closet, entertained 4 kids for a couple hours and cost less than $10. Life is good.
No comments:
Post a Comment